Setting up SMS Opt-In/Text to Keyword
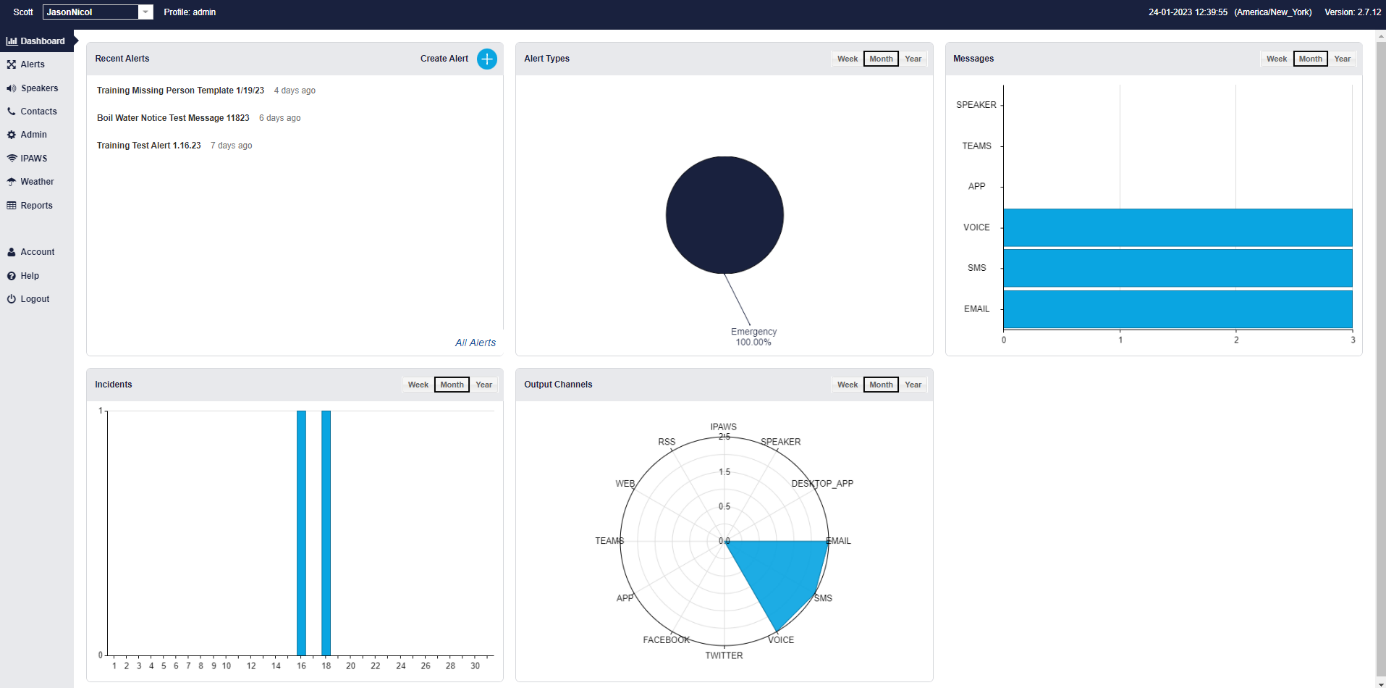
After logging in, select the ‘Admin’ section on the Toggle Menu.

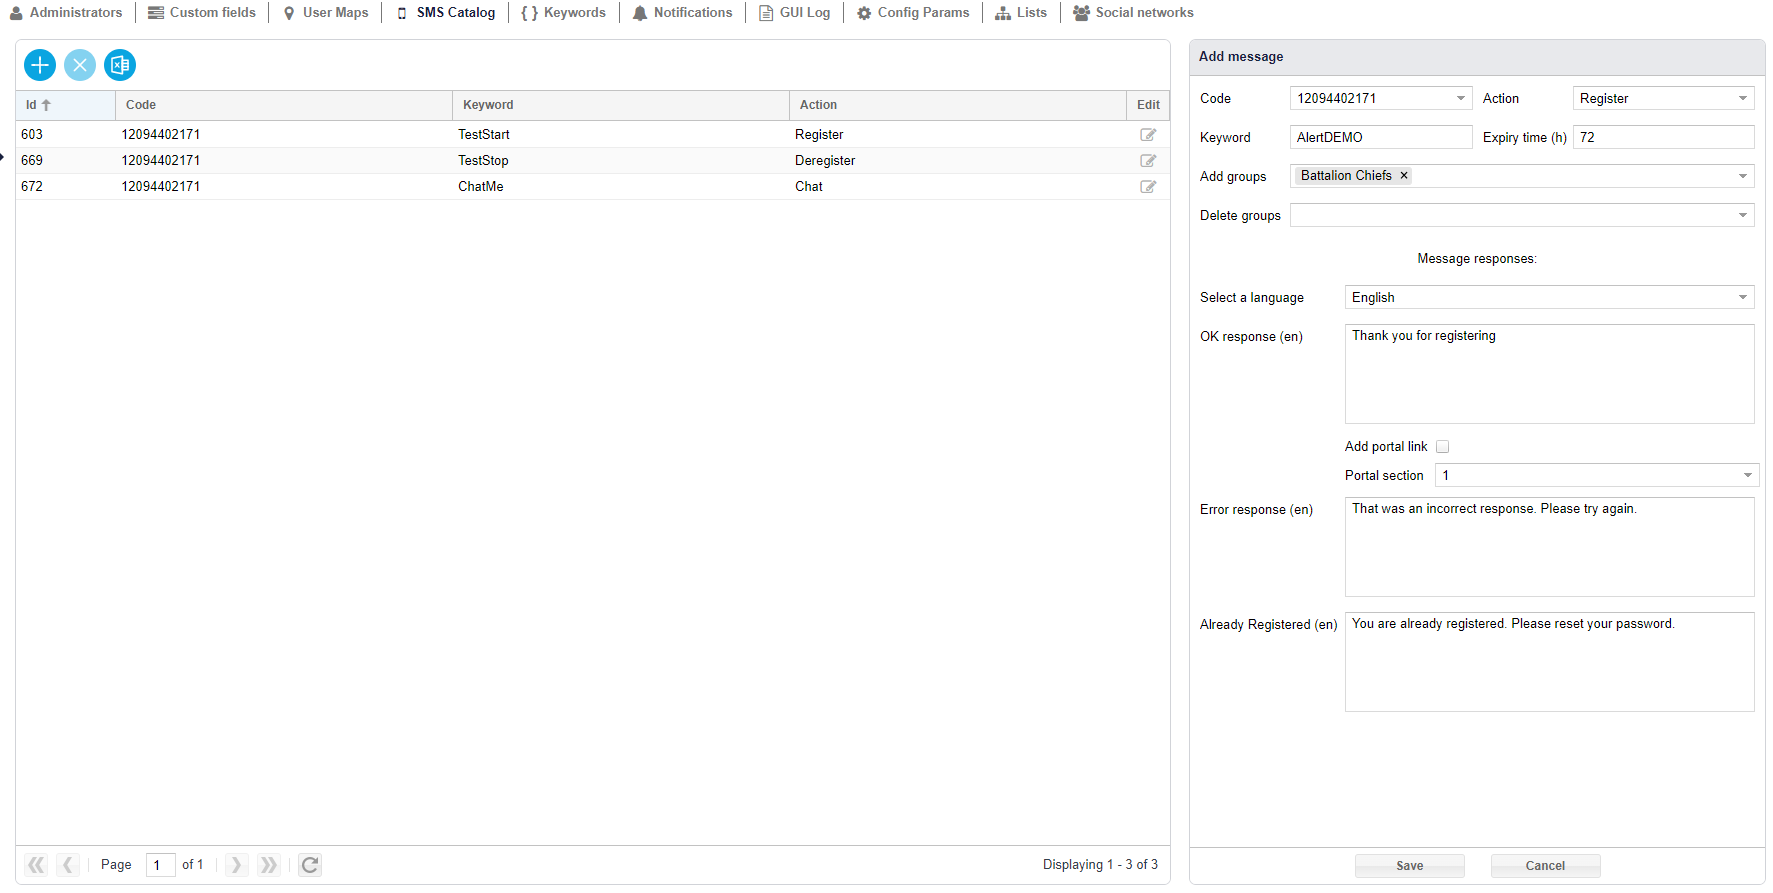
Once in the Admin section, click on the SMS Catalog sub-section at the top.

This is where SMS opt-in/text-to-keyword can be created. To create an SMS opt-in, select the positive/add button.

This will open a new ‘Add Message’ panel.

The first text field will be the ‘Code’ or short code, which is a special telephone number that is designed for high levels of two-way messaging.
Next to that, you have the ‘Action’ setting of the SMS opt-in/text-to-keyword, which has the options to Register, Deregister, and Chat.
Next you need to set the Keyword (i.e., SAFE24) that people will text. This keyword will need to be unique across the GEM platform.
Then you have the option to set an expiry time for how long that keyword and subsequently those who text the keyword will remain active within the system.
Next you have the option to set a Group to associate with that keyword.
And finally, the Message Response Options need to be set. First by selecting the language, and then setting up the OK response to the action and an error response if that action fails.

Then click “Save ‘’. The SMS opt-in/text-to-keyword created will show up in the list.

