Employee Cellphone Reporting Activity Panel QRG ALERT Mobile – V2
QUICK REFERENCE GUIDE
The Employee Cellphone Report feature allows internal employees to report activities such as suspicious incidents, fires, emergencies, etc. from the ‘Genasys Alerts’ app. These reports are tracked within the ‘Activity’ section of the Genasys Alert Graphic User Interface (GUI).
Users of the Genasys Alerts app can also send a report based on an active alert that they have received.
This guide will show how to send reports from the Genasys Alerts app and how to track that information in Genasys Alert.
It should be noted that to use this feature, contacts must be sent a unique link to access the Genasys Alerts app. The contact can be created ahead of time in your Genasys Alert account, or they can register a new account after receiving the link. Contact your Customer Success Manager if you have any questions regarding access to the Genasys Alerts app.
Create a New Report
To Create a new report from the Genasys Alerts app, the employee/user will need to log into the app and navigate to the ‘Report’ tab. This will open the ‘New Report’ window.
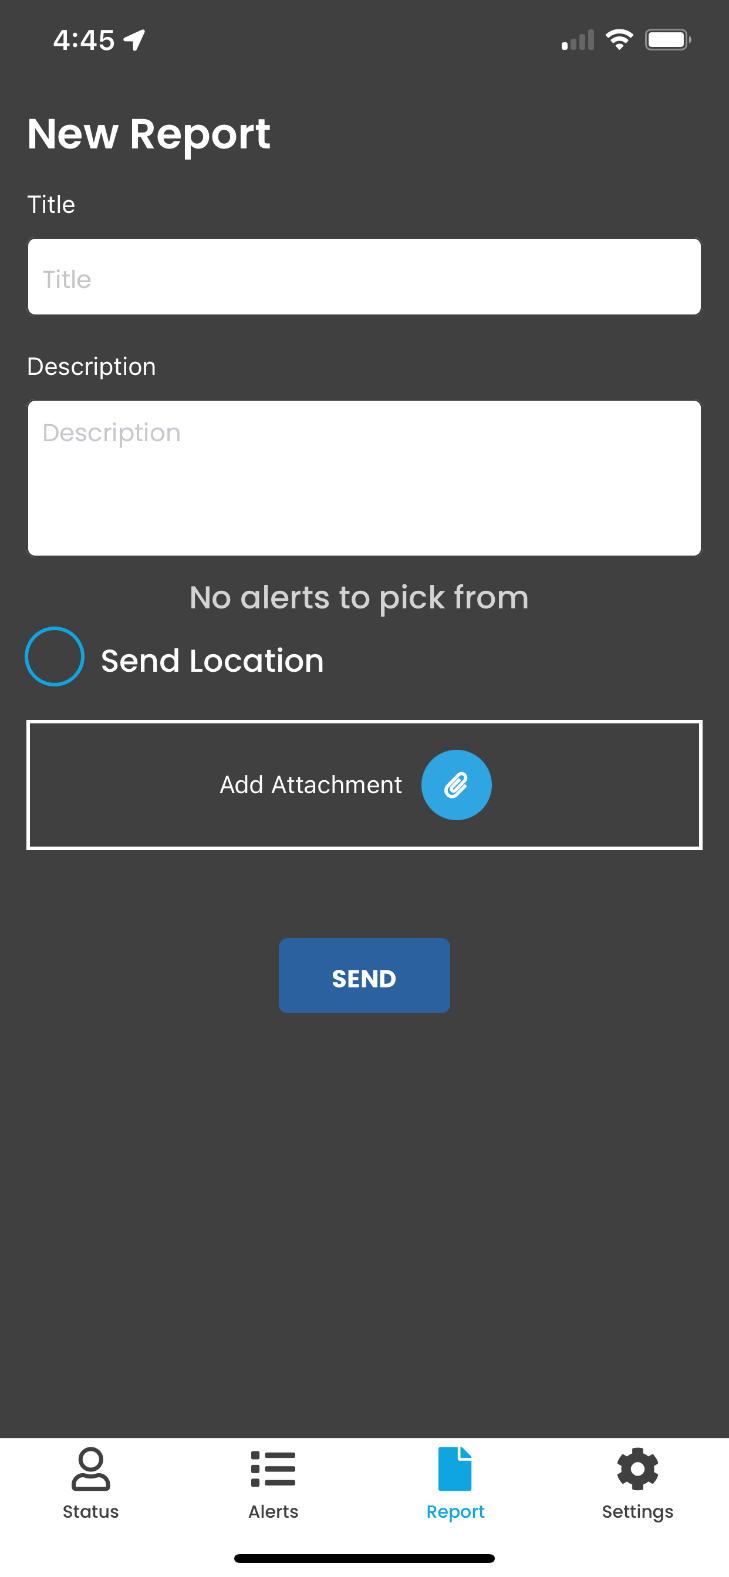 Next, fill in the ‘Title’ and ‘Description’ of the incident. Select ‘Send Location’ if the user wants to include their location. Note: Location services must be enabled within the user’s phone for this to send the location.
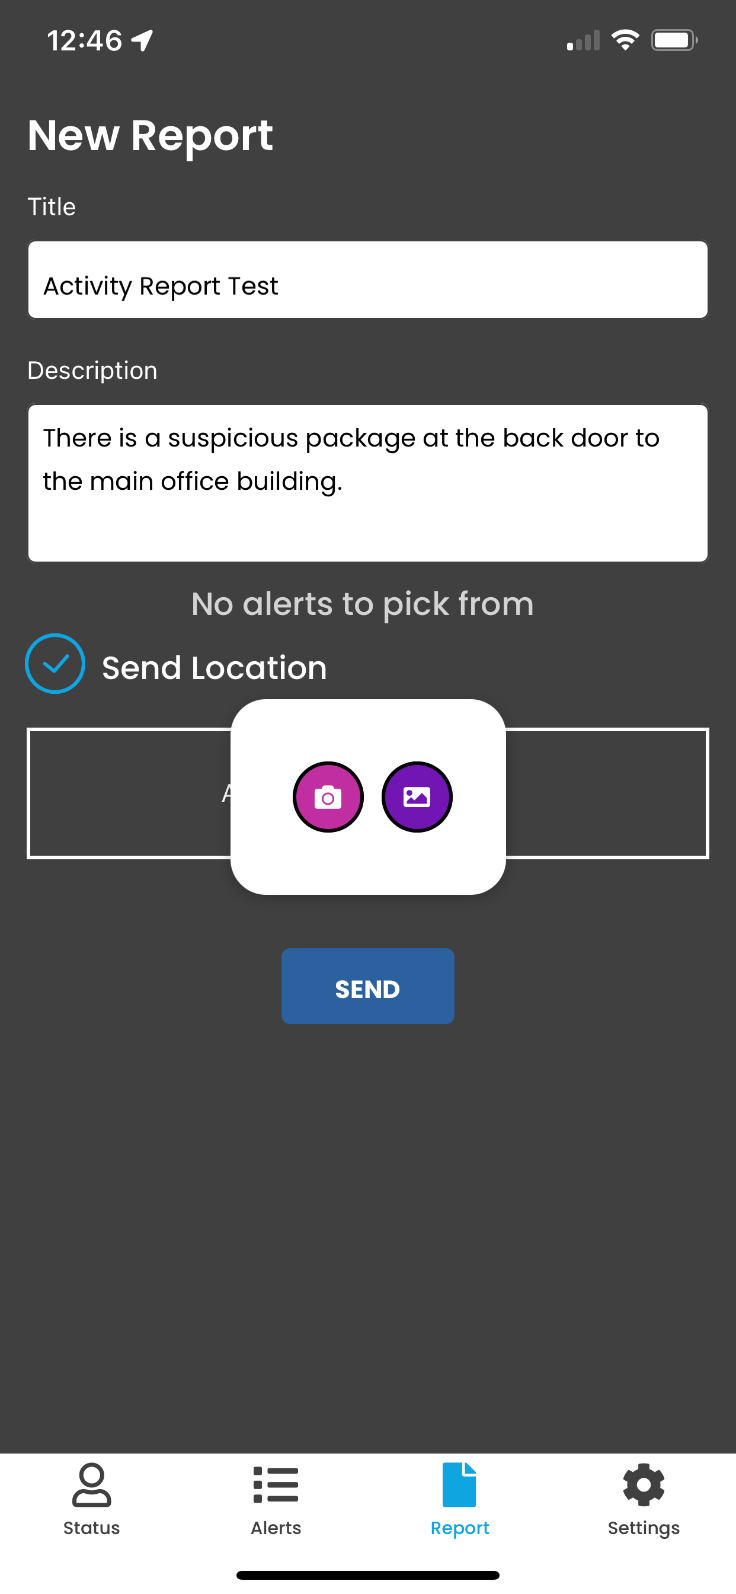
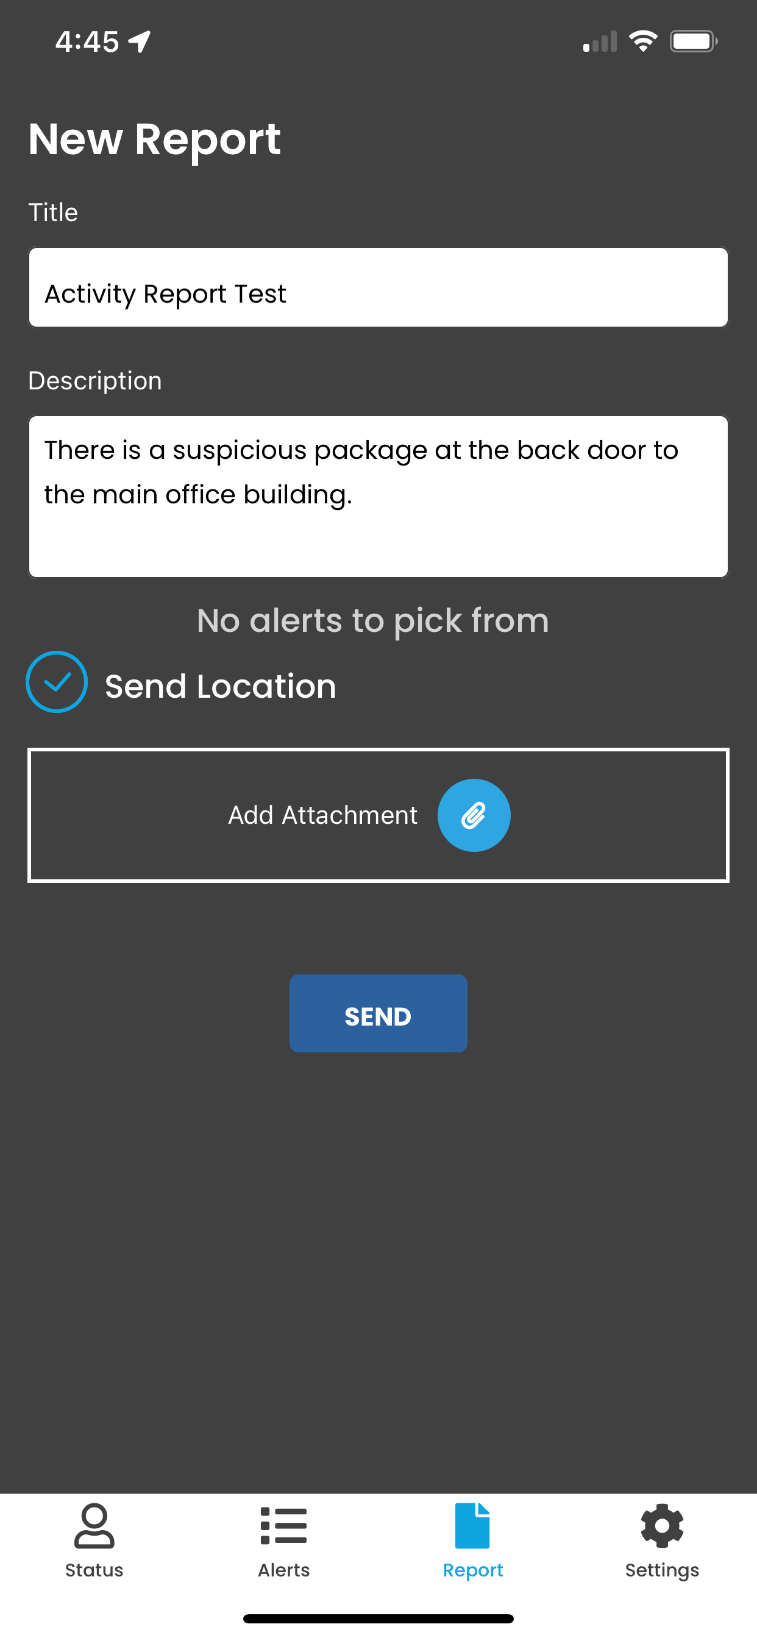 Add an attachment of a new photo using the phone’s camera or select a photo from the library to include in the report. This is helpful to identify suspicious packages, persons, locations of the incident, etc.
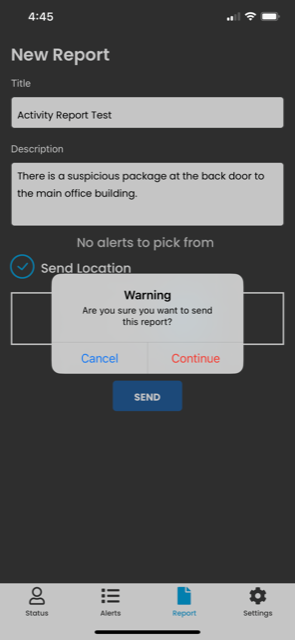
 Once the user has completed all fields and added any attachments, select the ‘Send’ button to send in the report. There will be one more check to ensure that the user wants to send the report into Genasys Alert.
 Once the alert is sent, Admins can track the report in the ‘Activity’ section of Genasys Alert. It should be noted that a notification is not automatically triggered when an Activity Report is sent into Genasys Alert. Once logged into your account, navigate to the ‘Activity’ menu on the left.
 This will open the Activity ‘Report Log’ which includes important information regarding the contact Name of who sent the report, date and time of report, content, status, alert name, and any attachments included.
If the location was included, a pin will appear on the map with that contact’s location.
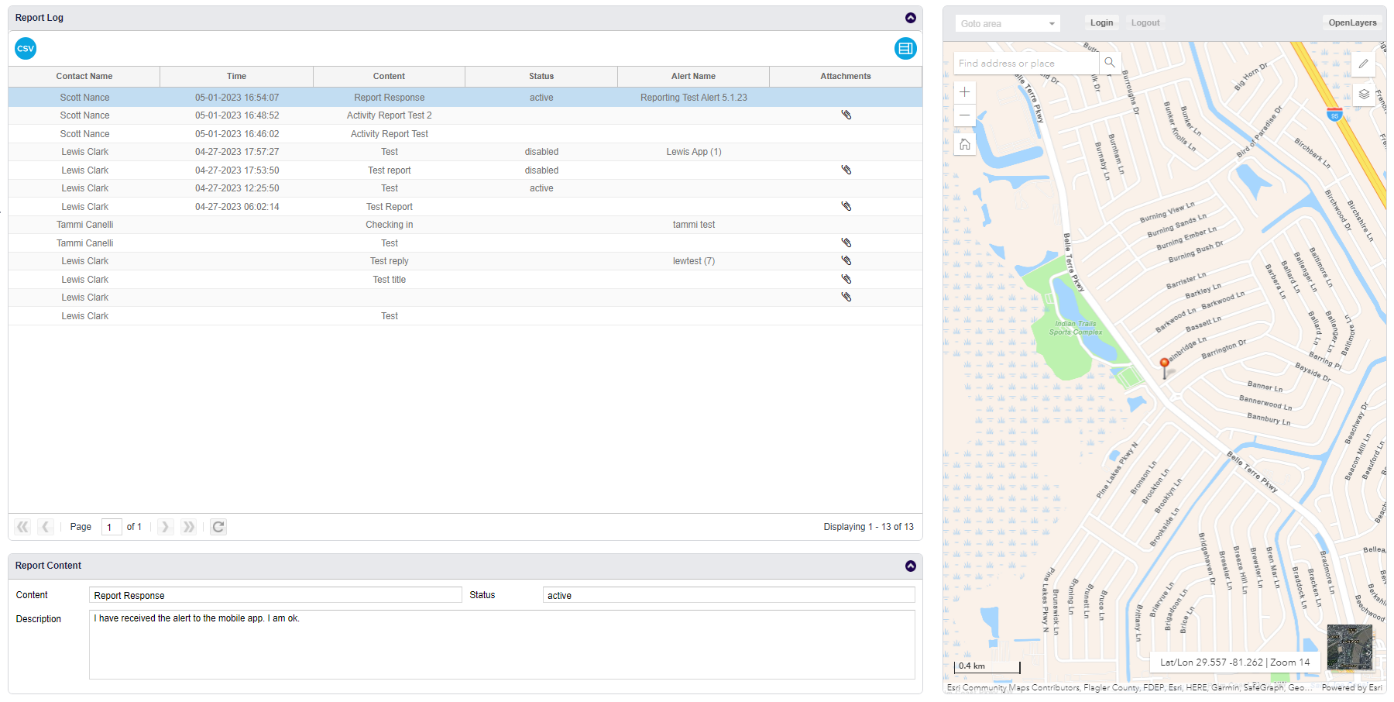
 When a Report is selected, the information will also be displayed in the ‘Report Details’ section at the bottom of the page. This will contain the Message, Status, and Description of the report.
The ‘Export CSV’ button at the top right of the page will allow you to create a downloadable report.
 Status Tab
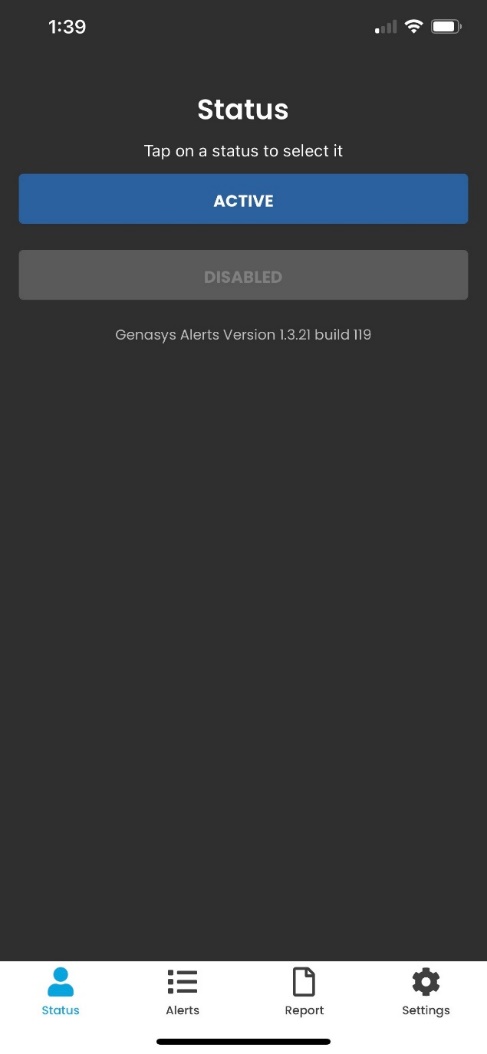
The ‘Status’ tab allows users to set their current status, which allows Admins to filter those statuses by Dynamic Groups to send alerts to users in an ‘Active’ or ‘Disabled’ (Inactive) status. For example: an ‘Active’ status could be that an employee is on-duty or at work, where ‘Disabled’ could mean the employee is off-duty.
This is helpful so only on-duty employees could be alerted and send a report back based on the alert/incident.
 Sending a report from a received alert.
Users can also send a report from an alert received in the Genasys Alerts app. When the user/contact receives an alert in the Genasys Alerts app, they will receive a push notification if notifications are enabled, they can also view the alert from the ‘Alerts’ tab within the app.
When the alert is opened in the app, users can select ‘Reply to This Alert’.
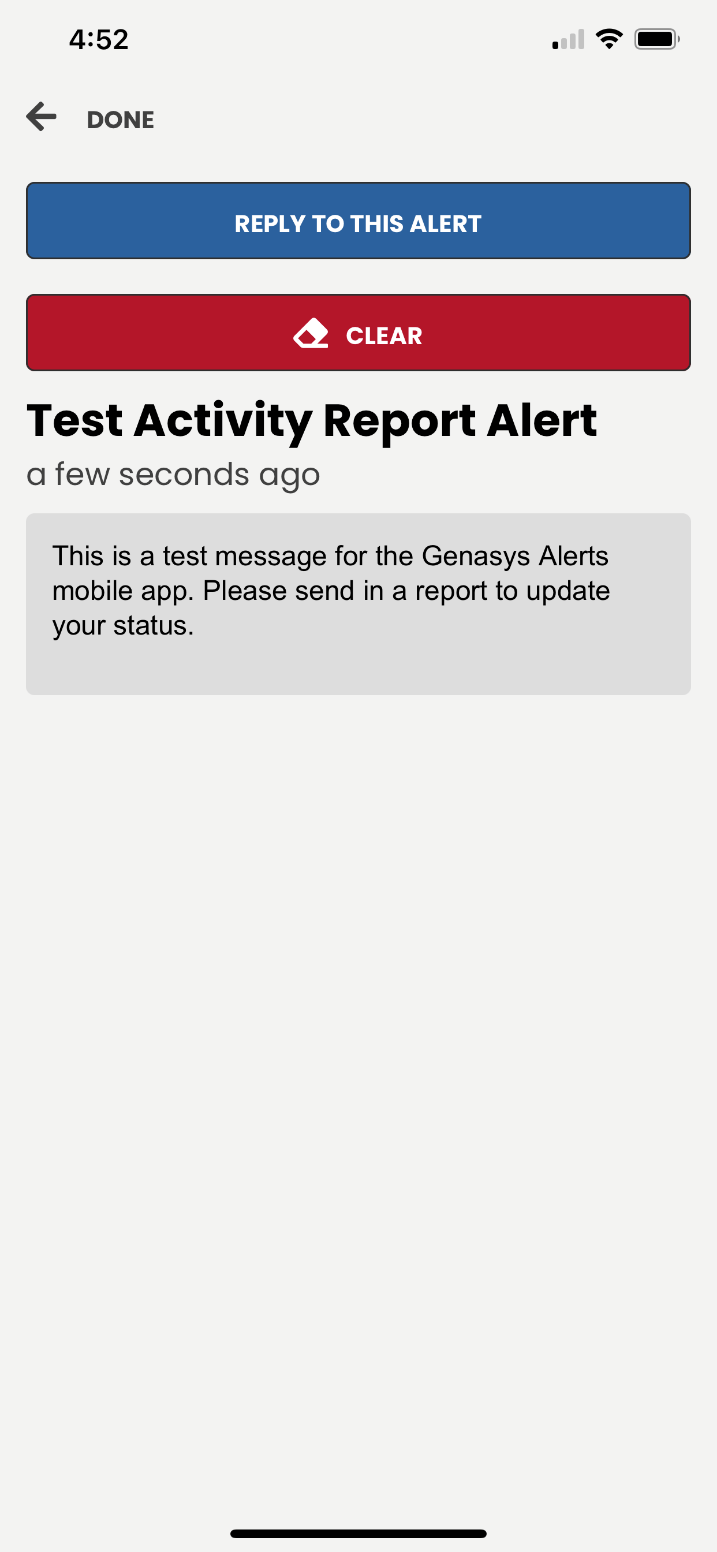 Once “Reply to This Alert’ is selected, the ‘New Report’ window will open. However, when replying to an alert, the ‘Assign to Alert’ section is included with a drop-down of the active alerts. The alert being replied to should be filled in automatically.
The user can then fill in the Title and Description details, send their location, and include an attachment as seen in the first example of this guide.
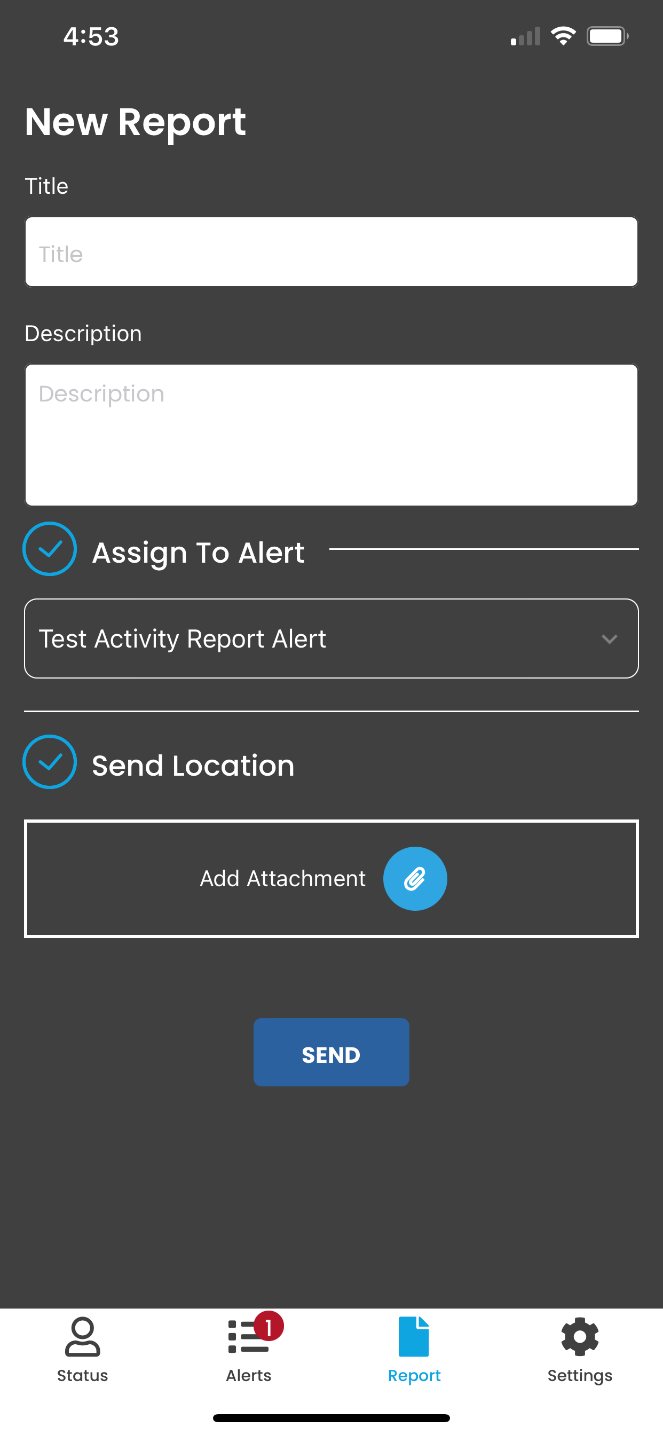 After the details are complete, the user can click ‘Send’ to send in the report.
 .
.
