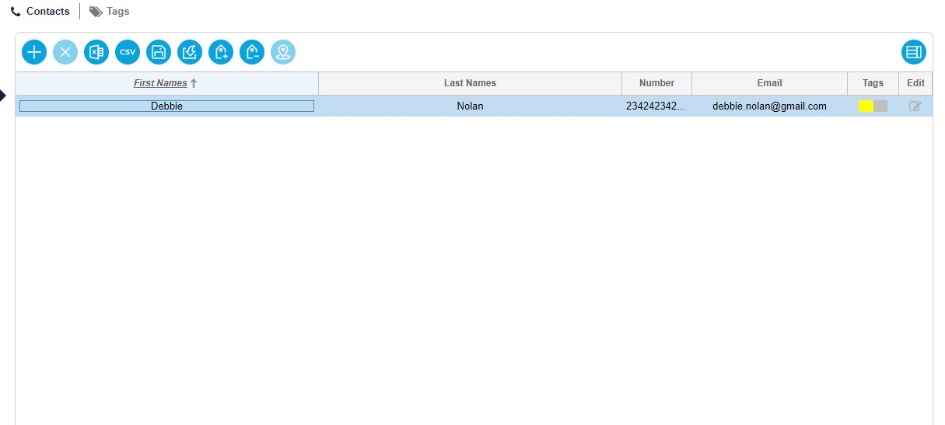
Manually Creating Contacts – V1
After logging into the system, head over to the ‘Contacts’ section on the Toggle Menu and click-on it.
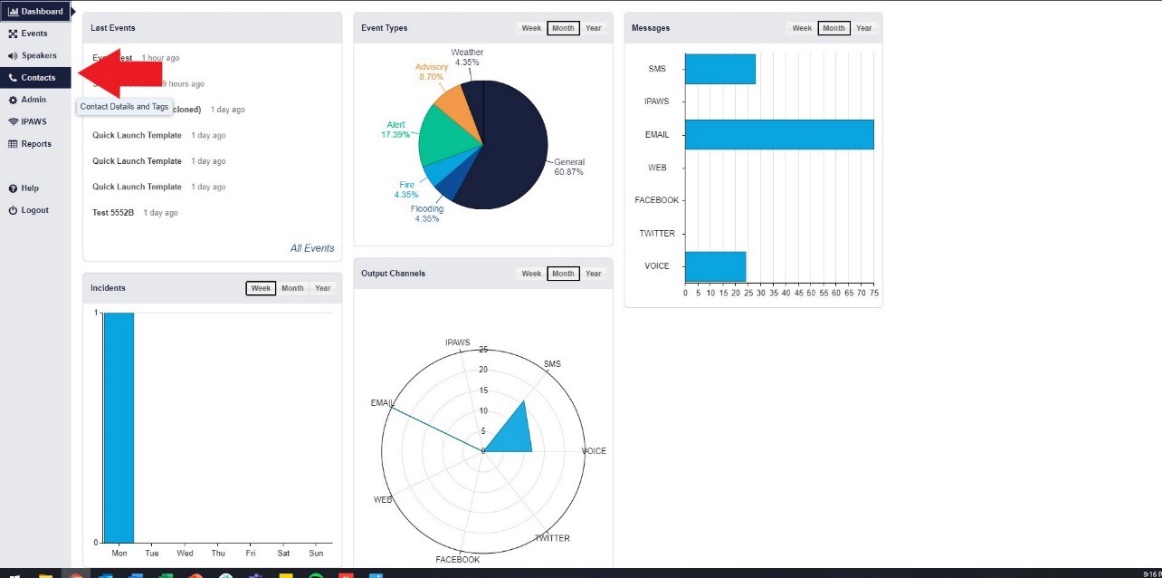
Once in the ‘Contacts’ sub-section, this is where contacts can be manually input or imported into the system.
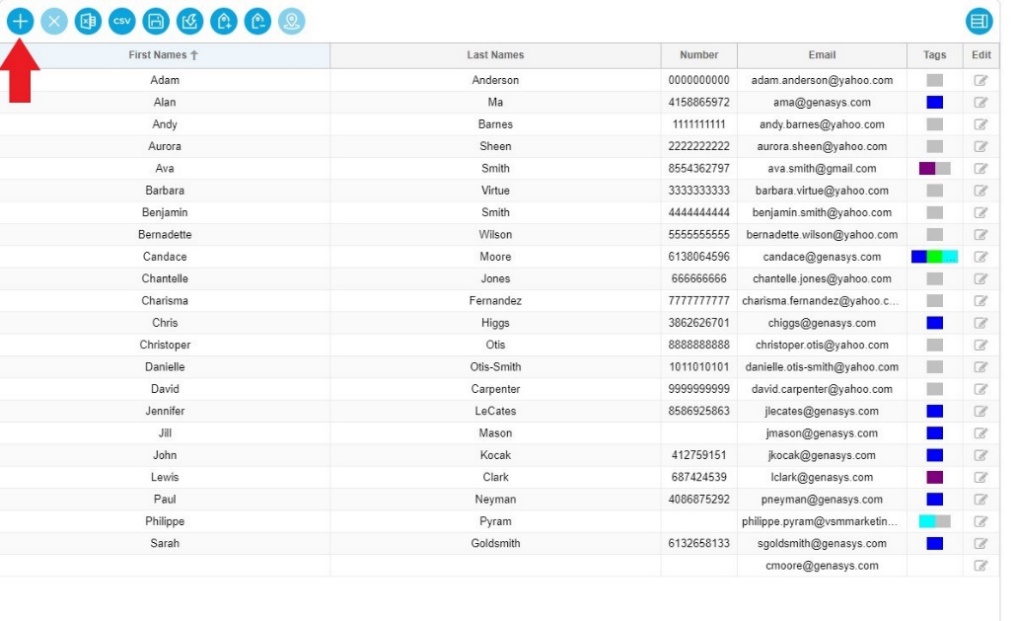
To manually input a contact into the system, click-on the Positive/Plus button.
A panel for ‘Contact Details’ will open to the right of the screen. This is where you would fill out all contact information. The minimum information needed to create a contact is a First and Last Name, and either Phone Number or Email. All other fields are optional.
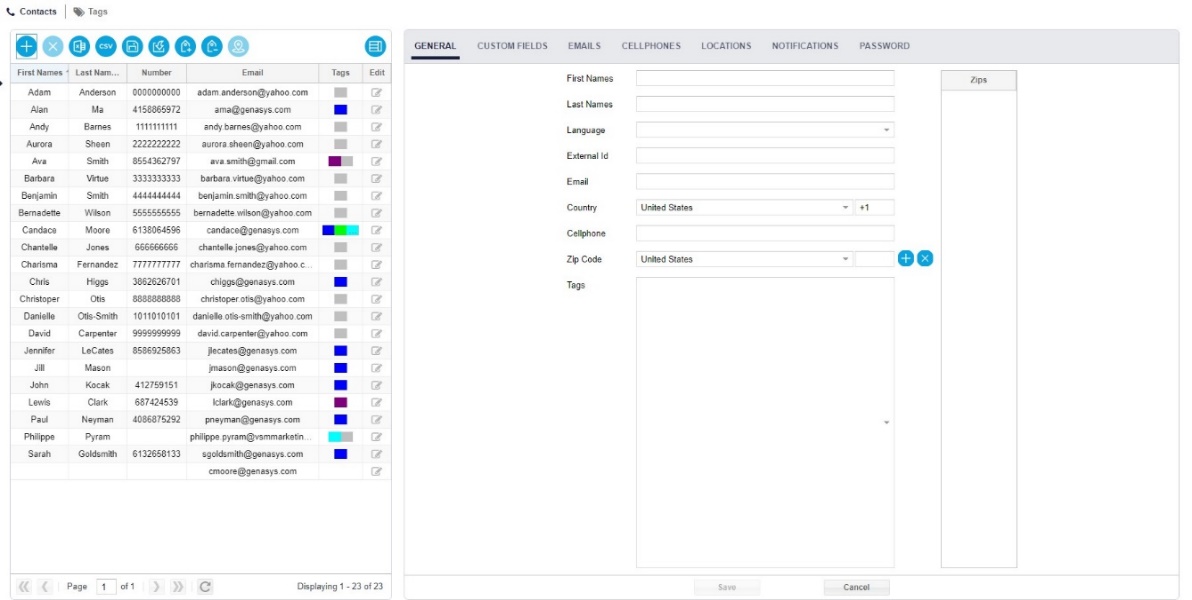
Starting with the ‘General Contact’ information:
- First Name
- Last Name
- Language Preference
- Country
- Cellphone Number
- Zip Code/Postal Code
- Tags or Tagged Groupings.
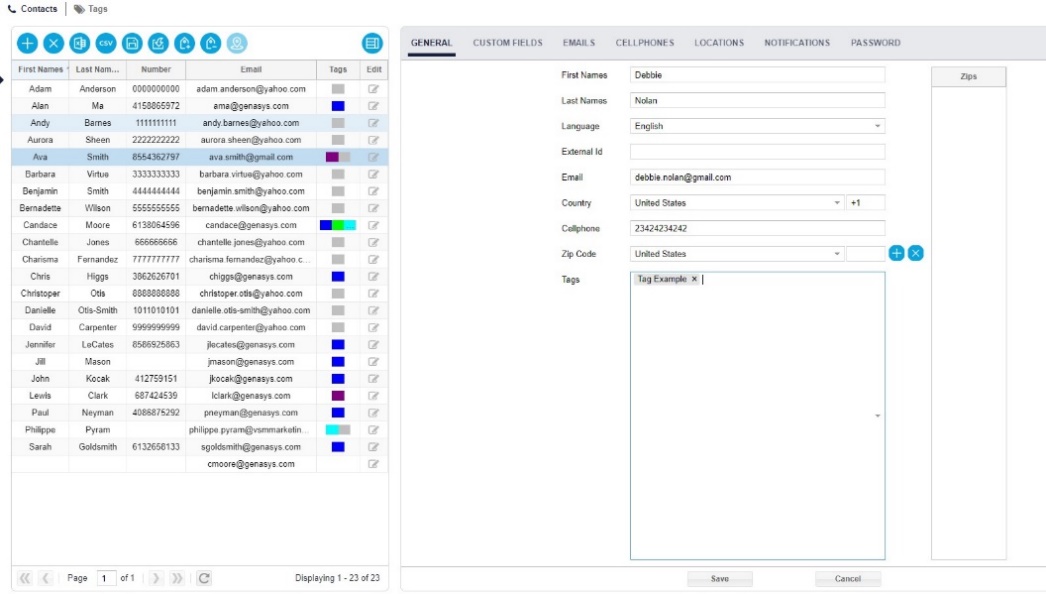
Additional information can be added to a contact’s profile, such as:
- Custom Fields – Fields not native to GEM used in the Registration Portal to create Dynamic Groups.
- Additional Emails or Phone numbers – Contacts can be notified on multiple emails and phone numbers/sms.
- Location or address– Multiple addresses can be included.
- Alternative Contacts– Contacts can have relatives added to their account to piggy-back off of their alerts.
- Notification preferences– These are the types of alerts (e.g, General, Emergency) that the contact opts in to receive. Additionally, Channels can be selected to receive alerts on SMS, Email, Voice, and Mobile App. This section now includes the Include/Exclude option through drop-down where the contact can always be included in alerts or never included in alerts.
- Account password– Update the password for that contact which relates to the registration portal account and not User credentials.

When the Contact Profile is complete, click save, and the contact will be added to the system.
