Issuing An Alert
There are three main ways to issue an alert in the ALERT solution.
Option 1: you can issue from the Quick Launch Panel.
Depending on your systems configuration, you might automatically see your Quick Launch after logging in, in which case you would simply select the desired Quick Launch template.
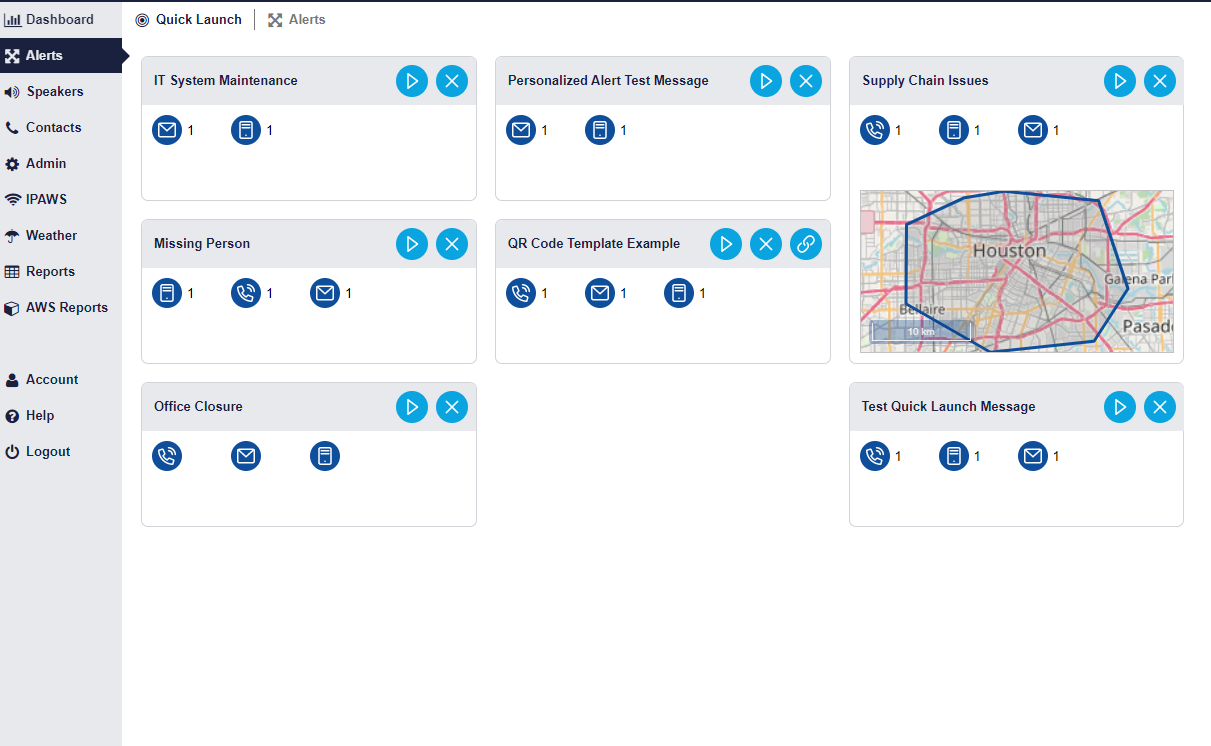
Or if the dashboard is enabled go into the ‘Alerts’ section on the Toggle menu, which opens into the Quick Launch sub-section.

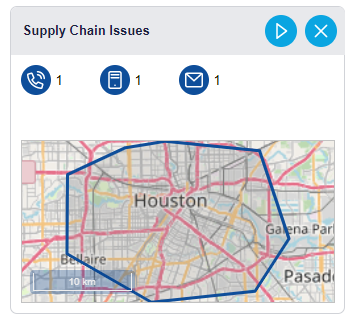
After finding the template you want to launch, press on the ‘Play’ button at the top of the alert.
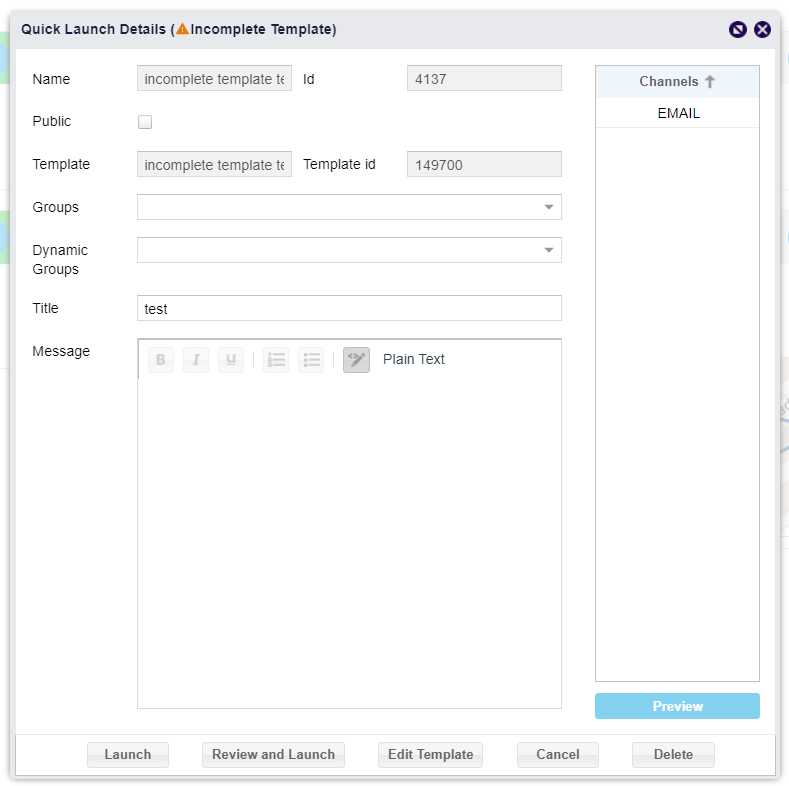
This opens the ‘Quick Launch Details’ window, where you can see the text fields, groups, and targeted channels. Text and groups can be altered or changed before the alert is launched. If Keywords are included, make sure to fill that information in prior to launch.


When the alert is ready, select the Launch button to send the alert out.
After that all the alert’s details will pop up showing the statuses of the alert.
Option 2: Review and Launch
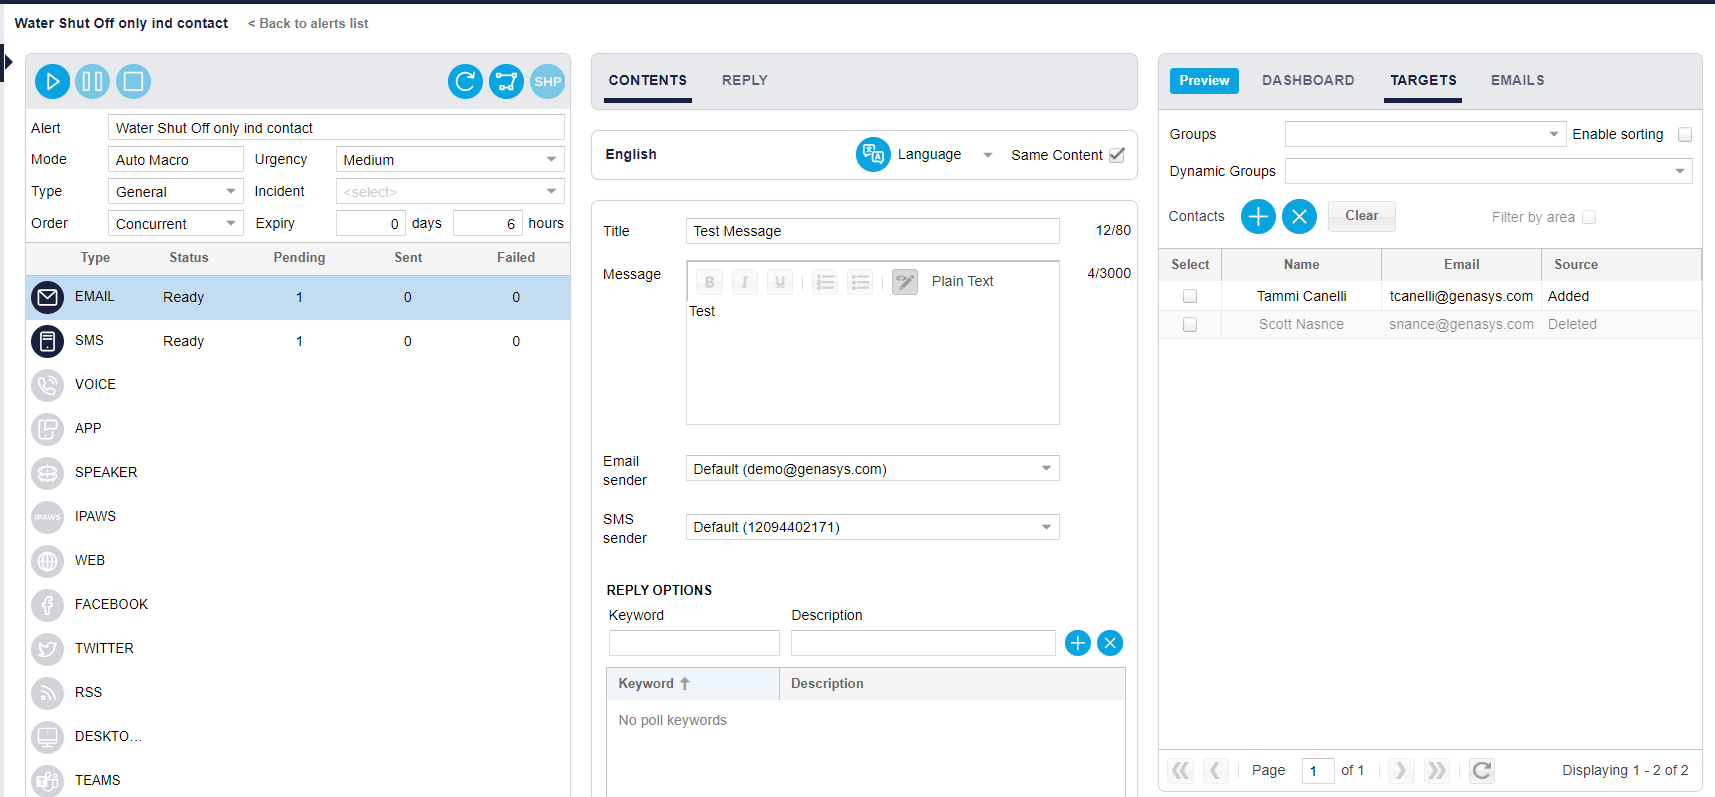
If enabled, the “Review and Launch” button will allow users sending a Quick Launch to open the alert prior to launch and make any necessary changes. This includes adding a mapped area and individual contacts if they were not included prior.
Once the alert is updated, click the “Play” button to launch.
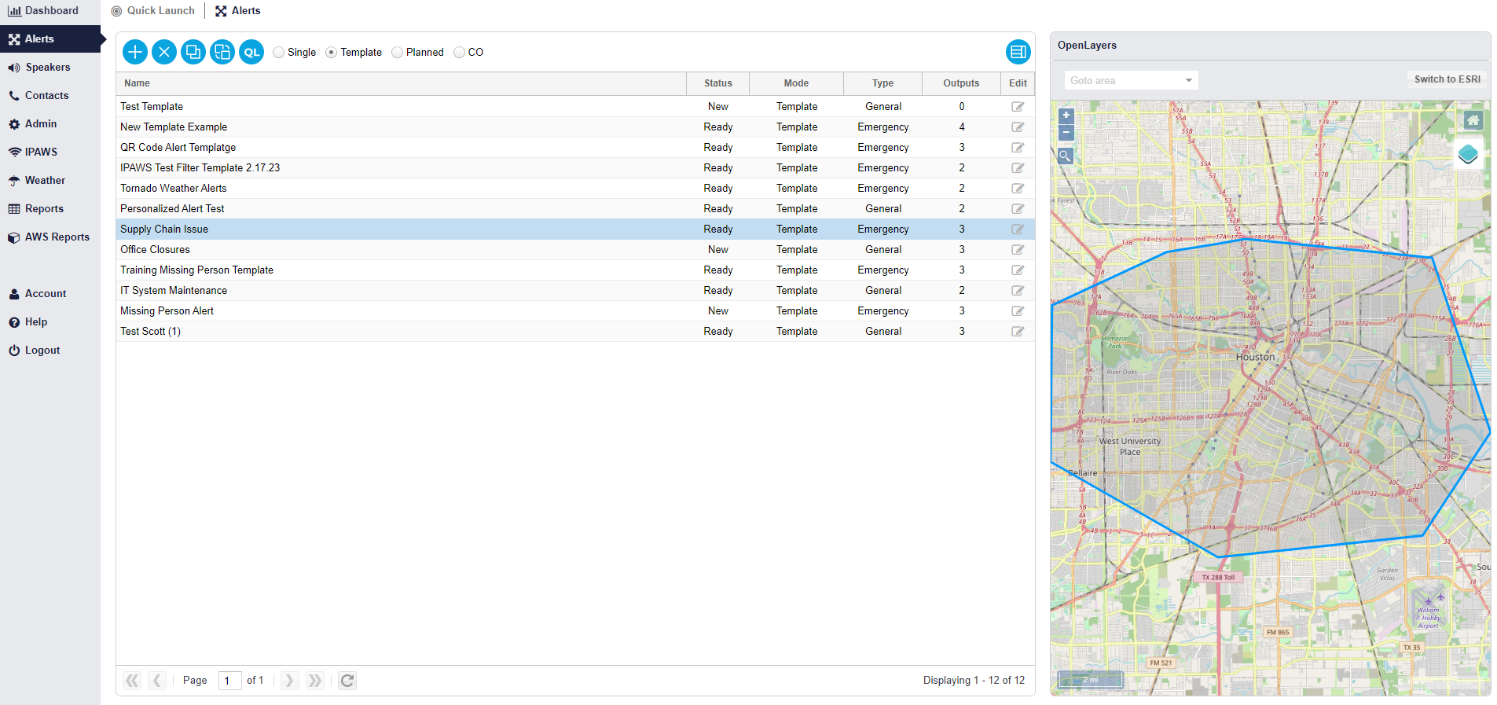
Option 3: The second option to issue an alert would be to clone a template.
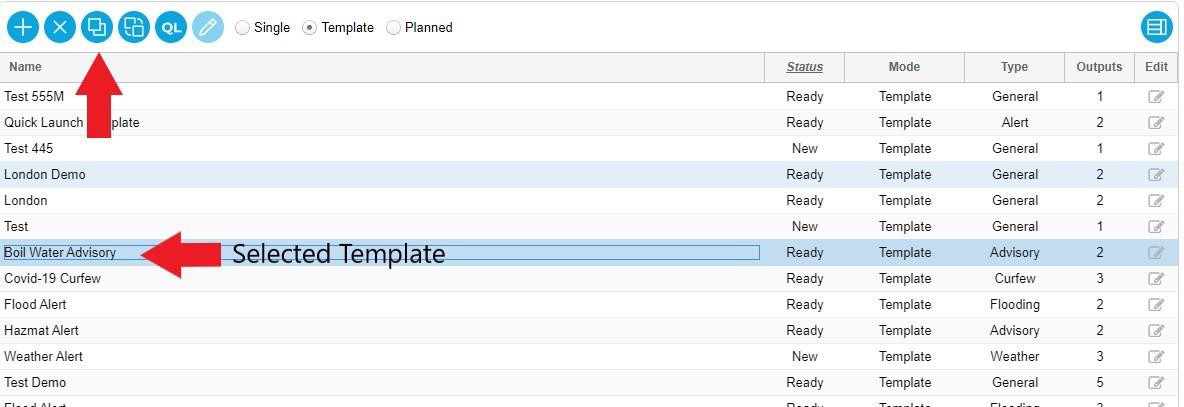
To clone a template click on the Template button and then select the desired template.
Next click-on the ‘Clone Alert as a Single button’ (which will automatically open into the Single list).
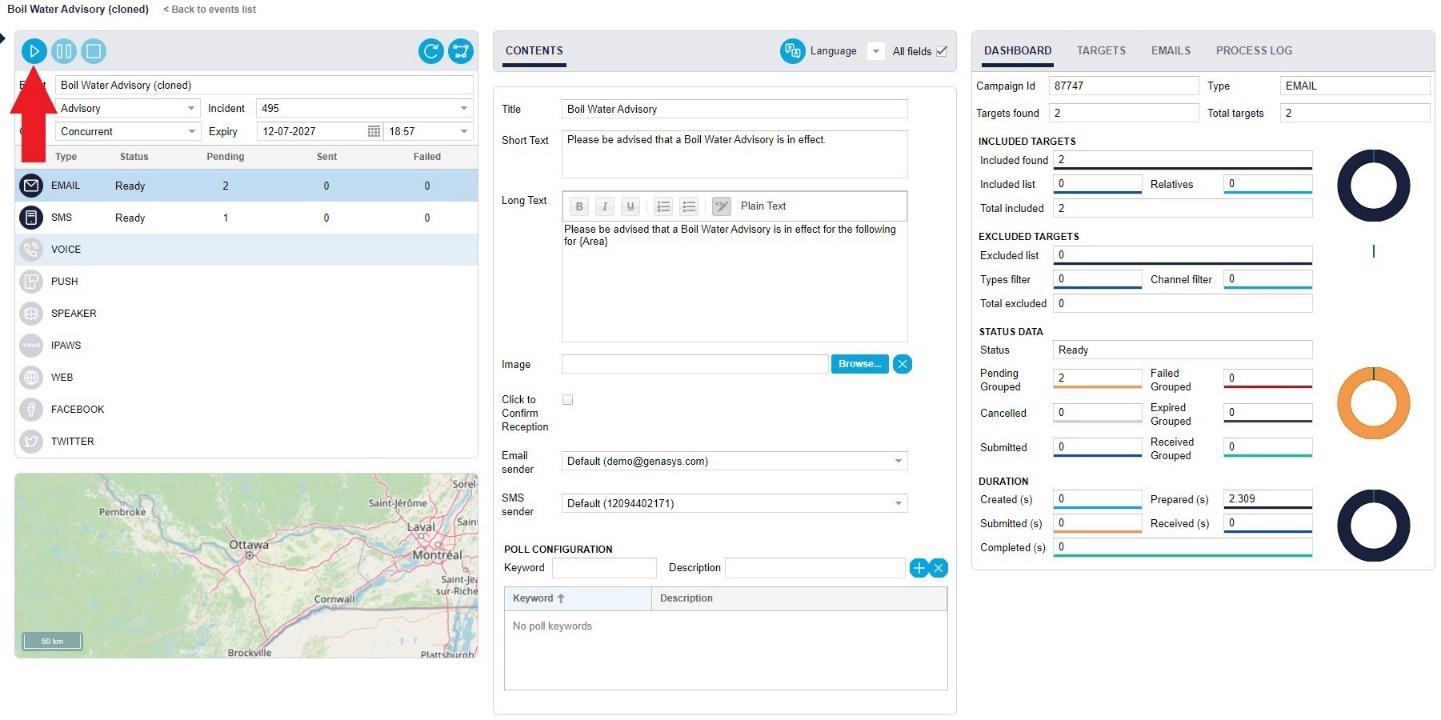
Double click-on the alert you cloned, make any changes if necessary, and click-on the Play button to issue the alert.
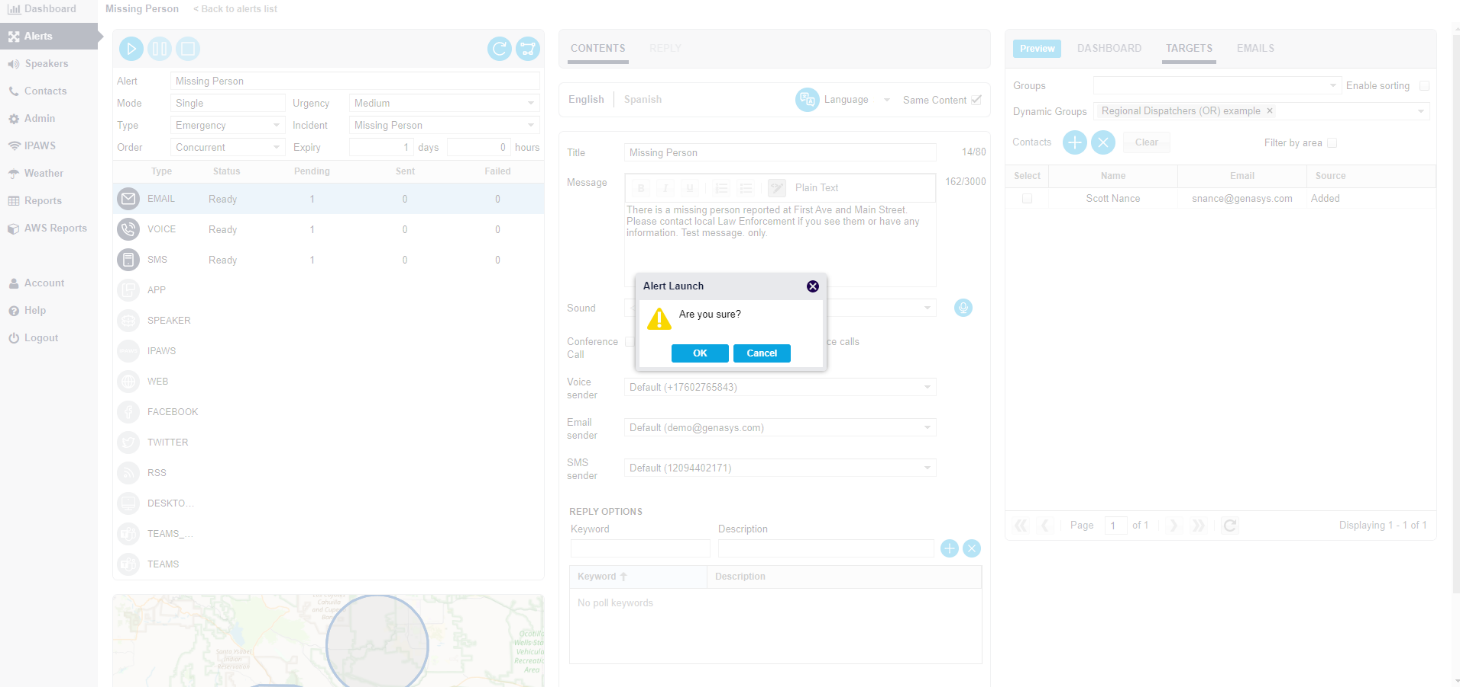
An ‘Alert Launch’ window will pop-up for second confirmation, click OK to send out the alert.
Option 4: Creating an alert from scratch.
Information pertaining to this option can be found in the previous, ‘Creating an Alert’ video and Quick Reference Guide PDF.
