Creating a Single Alert or a Template
Single Alerts and Templates are closely related. A Single Alert is a one-time event. It contains the appropriate alert message and is sent on selected channels to a specific list of recipients. Single Alerts are quickly composed using minimal settings and published for delivery.
Templates on the other hand, are intended for future use cases. In the GEM solution, Templates cannot be published, rather Templates need to be copied and cloned to a Single Alert.
After a Single Alert has been customized and published, it can be saved for future use or cloned as a Template for use in customizing another Single Alert.
To create a Single Alert or Template, first go to the “Alerts” tab:
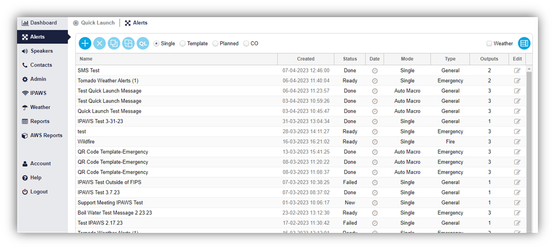
Then select the “Plus” button to create a new alert:


To initiate an alert, create a Name, select the Mode, the Type and then select an Incident from the preexisting list or manually name the incident.
Figure 1 – Alert creation window with Mode menu open
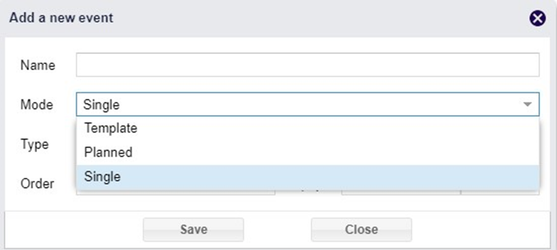
Figure 2 – Alert creation window with Type menu open
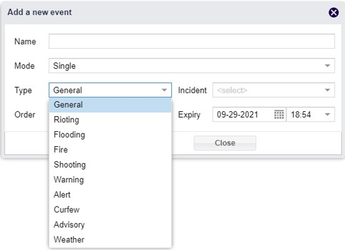
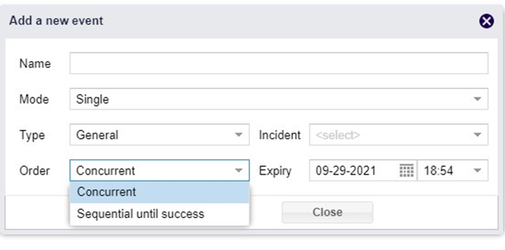
Figure 3 – Event creation window with Order menu open
The Alert Mode > Single, Template, or Planned, changes how an alert campaign functions.
Single mode is an event alert created and launched in the moment. Single mode is used for unexpected emergencies or announcements, and other unforeseen events.
Template mode provides the structure for creating anticipated event campaigns for severe weather, flooding, wildfires, or other seasonal critical events. Essential information is prefilled for faster alert campaign launches.
Planned mode is for event campaigns launched on specific dates and times. Planned events are used for regularly scheduled emergency warning systems tests or for hurricanes or other developing disasters.
Alert Type is defined by clients and cannot be modified by administrators. Message recipients can choose the Type of alerts they want to receive.
Naming the alert Incident is not mandatory but serves to better organize alert campaigns. If a threat or disaster is expected to require the creation and dissemination of multiple alerts, naming the specific Incident distinguishes it from other campaign events with similar characteristics.
The Order options, refer to the order in which the alert is being sent out – the first option is Concurrent – meaning that when an alert is issued it is going straight out, and then you have ‘Sequential until success’ – which means that when issued the alert will keep sending until the system receive a response.
Once you’ve completed everything– just click ‘Save’.
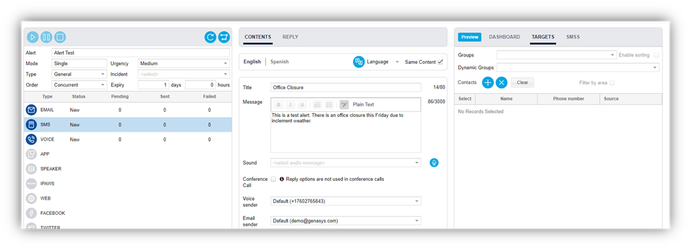
The alert has now been added to your ‘Alerts’ list. Once you click ‘Save’, the alert will automatically open into three separate panels – first being output channel options, the second the associated content text fields, and third your alert targets. There is also a Back to Alerts List button at the top.
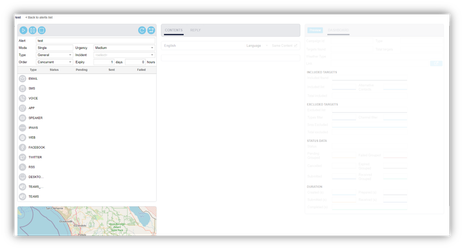
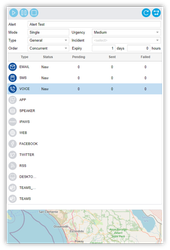
Double click the button to select output channels.
Content
The Content editing window changes with the output channel selected. For example, if the SMS output channel is selected, the Content editing window will configure for 3000 characters. If the EMAIL output channel is selected, the Content editing window will configure more text and enable image and video attachments. When selecting more than one output channel, click each channel and add the corresponding content.
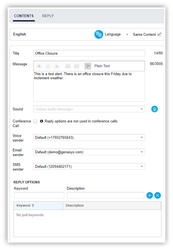
Notification content defaults in English. Add and remove content in other languages by clicking the “Language” drop down menu and selecting by checkbox. The available languages are configurable.
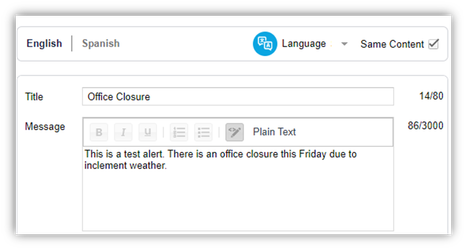
Depending on the channel, the information is used in different ways:
- Voice Call – If a sound file is selected, the voice call will play that sound. If there is no sound selected and a long text message is defined, a text-to-speech converter is implemented.
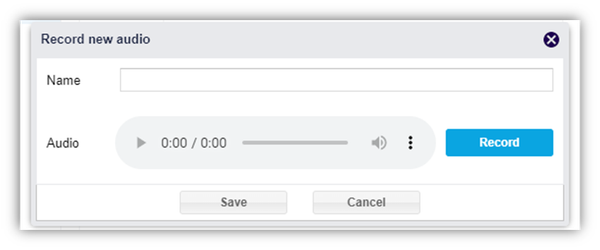
- Microphone – You also have the option to record a message on-the-fly.
Targets
After completing the Content section, the targets (contacts) for the alert must be selected. Recipients are chosen by drawing an area on the map or selecting contacts through their groups. Selecting different output channels changes this information.
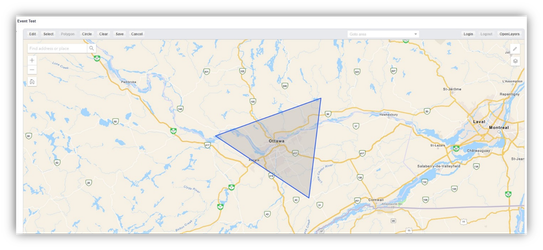
To draw an area on the map, click on the Map Drawing button:
After clicking this button, a map will appear. Draw an area by clicking on it and creating a closed shape. When finished creating the closed shape, double click and the shape will close automatically.
Additionally, an alert can be created using an imported shapefile to create an Emergency Polygon.
Select the Import Shape Icon as seen in the screenshot below.
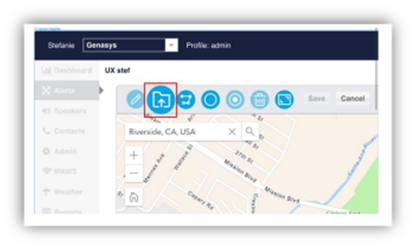
Then, click on the Browse button and select a file or drag and drop one or more Shapefiles onto the indicated area.

The selected files are then uploaded, and the Import button is activated.
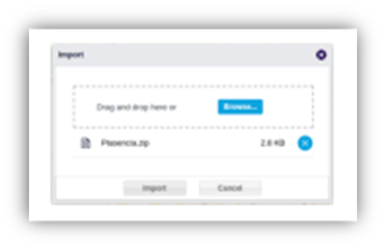
Selecting Import creates a new area from the imported geometry. Once the shapefile is on the map, select ‘Save’ to continue.
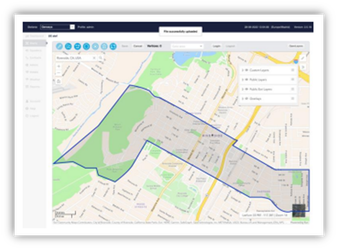
Switch channels to see which targets have been selected.
To add a recipient via group, go to the right side of the application and click on “Targets”, then open the “Groups” dropdown menu to choose groups.
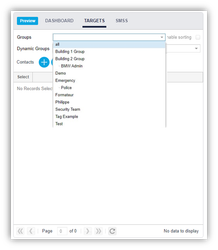
After defining the area or the group filter, the Alert processes the changes. While processing, the system calculates the map area contacts list or the group filtered list. While processing, no other groups or contacts can be added.
All changes are saved automatically.
When the minimum event campaign information has been completed for a selected channel, the output channels will turn blue color indicating the alert is ready to launch. When the alert is ready to launch on ALL selected channels, press the blue “Play” button to run the alert.
Remember: A newly created template will not run. Clone the template into a Single Alert first – and then run it.
Creating a Quick Launch Alert and Button
After logging into the application, navigate to the Alerts Page. The first tab will be the Quick Launch Page.
This page will include a list for ready “Quick Launch” alerts.
Quick Launch alerts are predefined templates with pre-filled messages and selected channels and recipients. Quick Launch alerts provide faster response times for recurring emergency situations.
Creating a Template for Quick Launch
To create a new Template, follow the steps to create a new alert by selecting the “Plus” button.
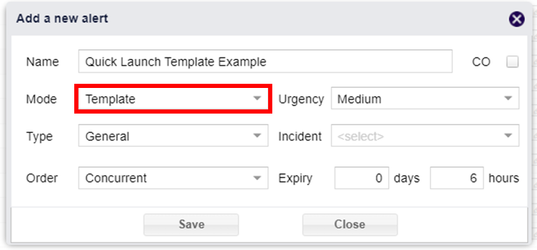
Ensure that the Mode is set to “Template”. You will not be able to send the Template as it is. This can be done by Cloning the Template or saving it to the Quick Launch.
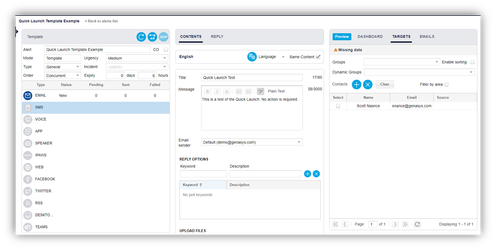
Next, select your channels, define message content, and pick your targets.
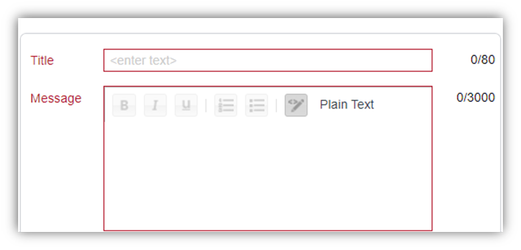
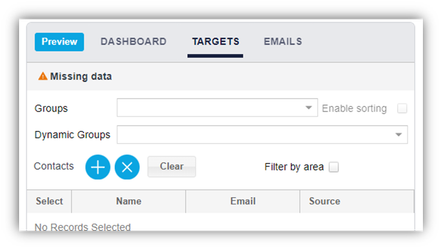
If you are missing mandatory fields, those fields will be highlighted in red as seen below. Missing data will have a warning message appear as well.
Once you have completed the Template, select “Back to alerts list”
Creating a Quick Launch Button
To create a Quick Launch button, go to the Alert grid panel and view the Template list. After selecting the desired Template, click the “Add Quick Launch Button”.

The following window will open:

After specifying a name, select “Save” and the new button will appear on the Quick Launch panel.
Sending an Alert
- Run a Quick Launch
Quick Launch features alert templates that are fully configured and ready to go. The message and the channels are preset and recipients who will receive the message are selected.
From the Quick Launch Page, select the desired Quick Launch and press the blue ‘Play’ button.
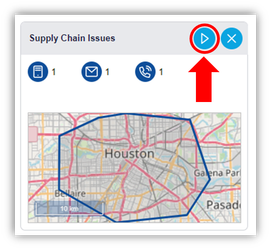
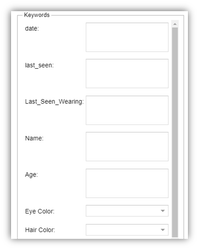
Click on any of the configured Quick Launch items. After confirming that the appropriate message and channels are selected – click “Play” (Fig. 1). If there are Keywords included, fill that information in prior to clicking “Play” (Fig. 2) The system will initiate the alert and then open a reporting screen where the alert’s progress can be monitored.
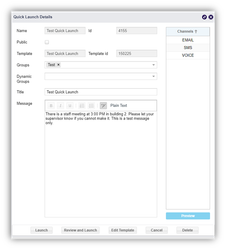
1A) Review and Launch
If enabled, the “Review and Launch” button will allow users sending a Quick Launch to open the alert prior to launch and make any necessary changes. This includes adding a mapped area and individual contacts if they were not included prior.
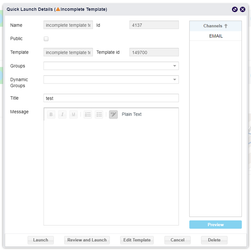
Once the alert is updated, click the “Play” button to launch.
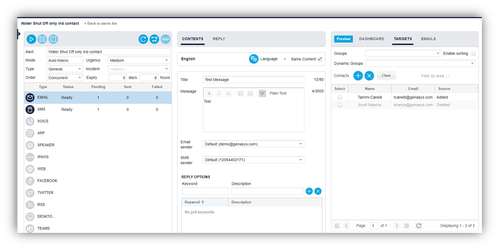
From the Single Alerts page, find the desired alert you want to send.

Double-click on the Single alert. Review and make any changes to the content, channels, or targeted recipients. Click the “Play” button to send the alert.
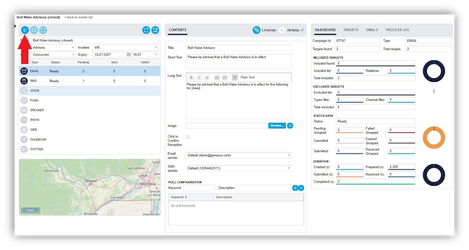
Original templates are used to create unlimited template copies, which are then used to create the “Single” alerts.
Template copies contain all possible variations of messages, channels, targeted recipients, and alert delivery customizations.
Click “Template” to view all system templates:
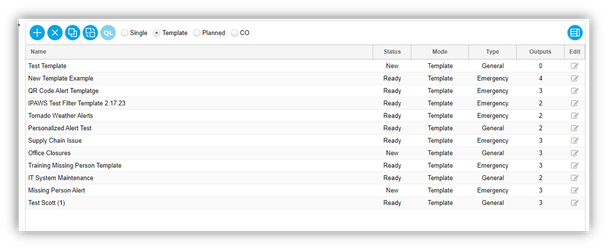
Double-click on any template to examine it in detail, if needed.
If this is the appropriate template, click on “Clone Template as a Single” button to create a Single alert with all copied template details:
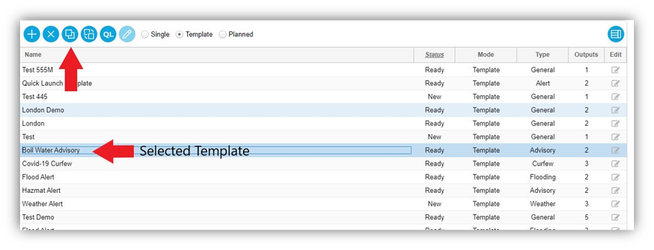
Double-click on it to make any changes. Click the “Play” button to send the alert.

- Edit Template
If enabled, a Quick Launch can be edited with the “Edit Template” button. This will update the template and Quick Launch, saving those new changes.
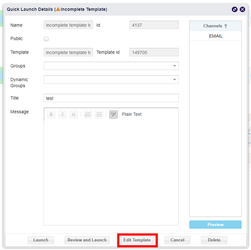
Click the “Edit Template” button to make the necessary changes. This will open the template directly so you can add a mapped area or make any other changes. Once complete, select “Back to alerts list”. The Quick Launch template will then be ready.
To send the newly updated Quick Launch template, follow the steps to run a Quick Launch.
