CREATING USER CREDENTIALS QUICK REFERENCE GUIDE
This Quick Reference Guide will show Administrators how to create and manage User Credentials within ALERT/GEM.
Once logged into ALERT/GEM, navigate to the Admin Section.
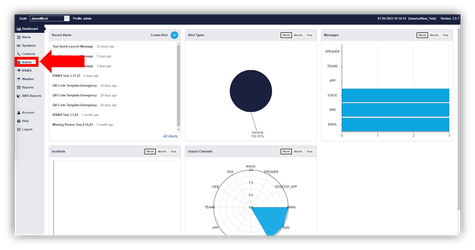
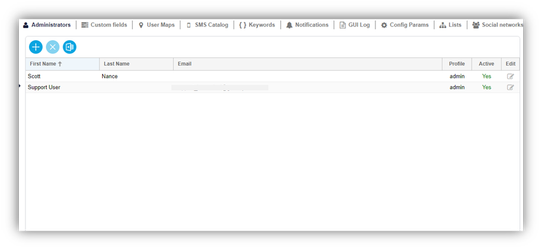
The first tab within the Admin section is Administrators. This page allows you to create and manage user credentials as well as determine the profile (role) for each user.
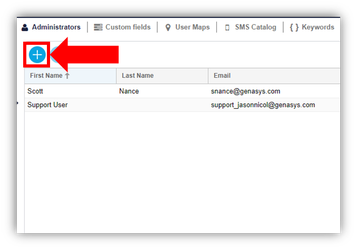
To create a new user, select the blue plus sign in the top left of the page.
This will open a ‘New User’ window with several fields that will need to be completed.
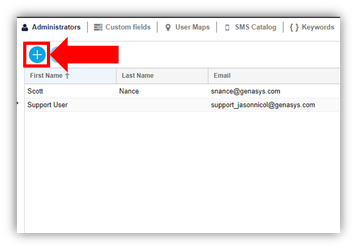
Complete the fields including First and Last Name, email, phone number, and password (optional as user can reset upon first log in).
The Profile will be the role assigned to the user. This could be User, Admin, Alert Manager, Contact Manager, Dispatcher, Etc. The profile assigned will determine what the user can and cannot do within GEM.
The Active option will determine if the credentials are usable or not for the user. You can also set the date format, preferred language which changes the language of the GUI (Graphic User Interface), and local sounds which allows for use of preconfigured MP3 voice files or the ability to record a voice message upon alert creation.
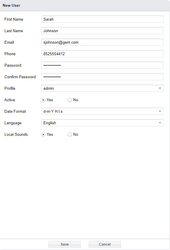
Once you have filled in the necessary information, select ‘Save’ at the bottom of the window. You will then have a pop up that requests your own password to be entered to complete the new user creation.
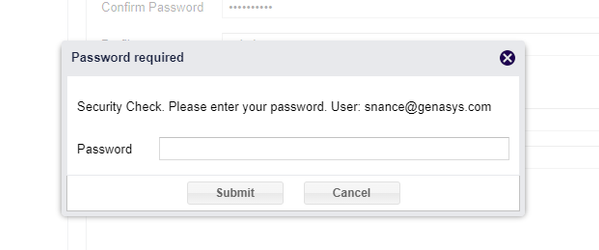
Once your password has been entered, the new user will be created, and you can view/edit the user in the Administrators table of users.

To edit a user, simply double click on the desired user or select the ‘Edit’ button to the right and make any changes needed.
